

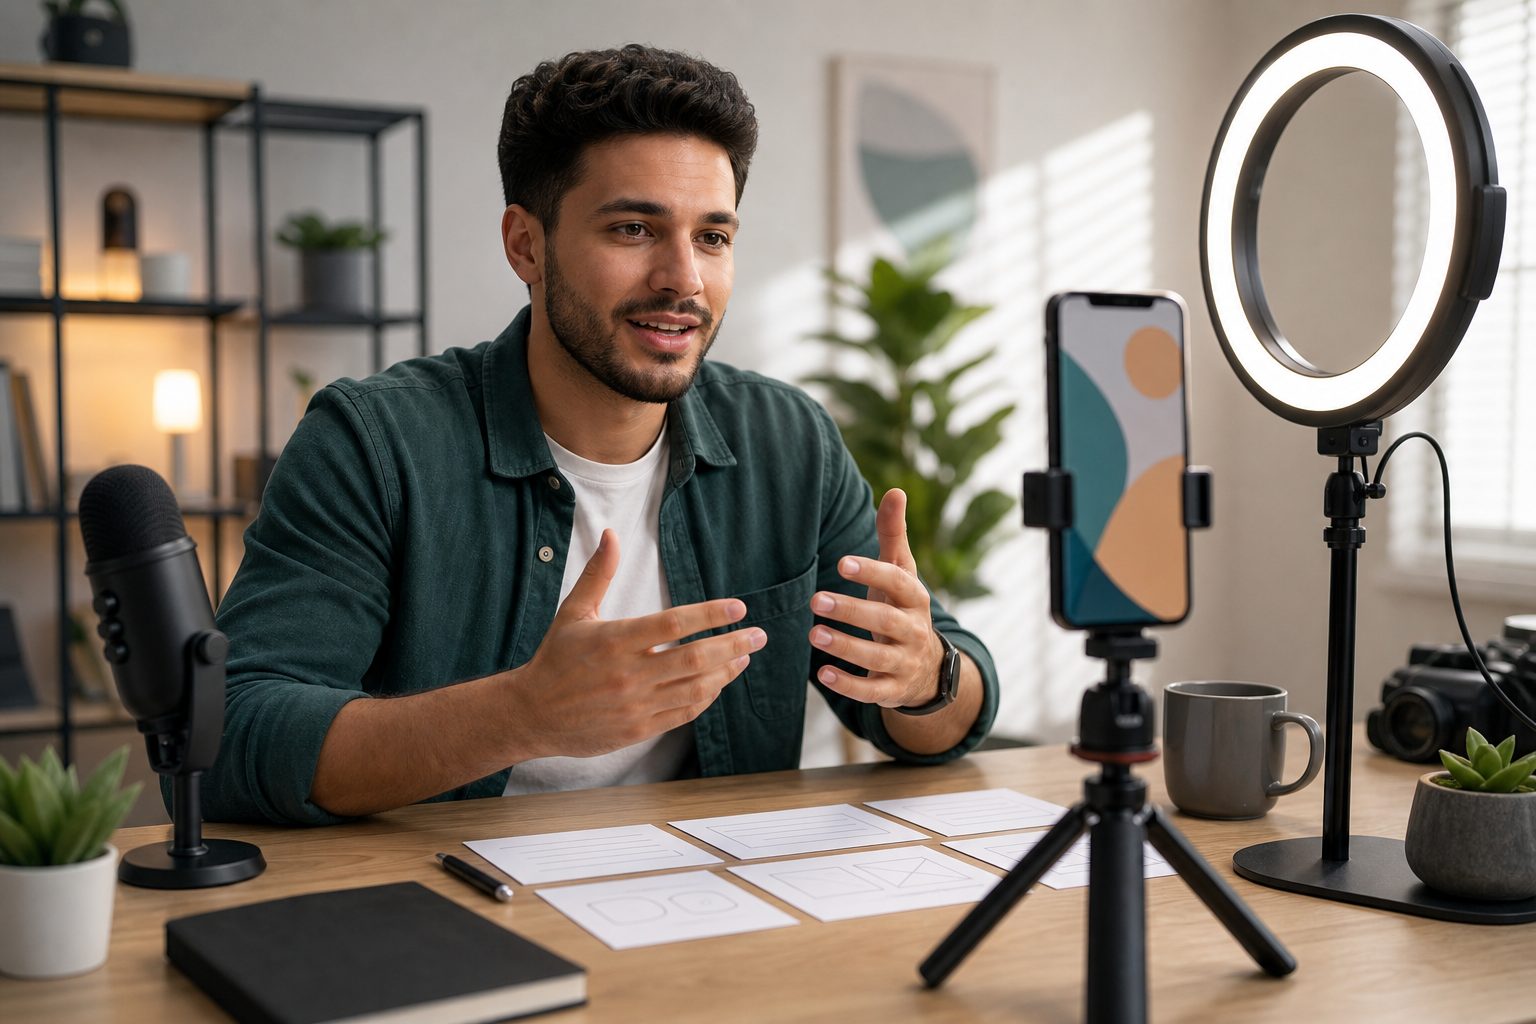
Learning how to make an Instagram Reel for beginners can feel intimidating at first, especially if you are new to short-form video, editing tools, captions, trends, and Instagram’s posting options. The good news is that Reels are designed to be simple once you know the basic workflow. You do not need expensive equipment, professional editing skills, or a large following to create a useful, engaging Reel. You only need a clear idea, a short message, decent lighting, and a few smart editing choices. In this guide, you will learn what Instagram Reels are, why they matter, how to plan and record one, how to edit it inside the app, and how to avoid common beginner mistakes. You will also see practical examples, best practices, useful tips, and answers to common questions so you can publish your first Reel with more confidence.
What An Instagram Reel Is
An Instagram Reel is a short vertical video that can include clips, music, captions, effects, transitions, stickers, and voiceovers. For beginners, the easiest way to think about a Reel is as a quick story, tip, demonstration, or moment made for mobile viewing.
1. Short Vertical Video Format
Reels are built for vertical phone screens, so the best format is usually full-screen portrait video. This makes your content easier to watch without turning the phone sideways. Beginners should record vertically from the start instead of cropping horizontal footage later.
2. Fast And Focused Content
A good Reel usually focuses on one simple idea rather than several messages at once. You might share one tip, one product feature, one before-and-after moment, or one quick story. This helps viewers understand the point quickly and keeps them watching.
3. Built-In Editing Tools
Instagram gives you basic editing tools inside the app, including trimming, text, audio, filters, stickers, and timing controls. These tools are enough for many beginner Reels. You can create polished content without learning advanced video software before you start posting.
4. Discoverable On Instagram
Reels can appear in followers’ feeds, on your profile, in the Reels tab, and sometimes in recommendation areas. This gives beginners a chance to reach people beyond their current audience, especially when the content is clear, useful, entertaining, or timely.
5. Useful For Many Goals
People use Reels for personal updates, education, business marketing, product demos, tutorials, entertainment, and community building. A beginner can start with simple content and improve over time. The format works because it makes information easy to consume quickly.
6. Different From Stories And Posts
Stories disappear unless saved, feed posts are often static or slower, and Reels are designed for short video discovery. If you want to show movement, explain a process, or capture attention quickly, a Reel is often better than a photo post.
Why Instagram Reels Matter For Beginners
Instagram Reels matter because they help new creators practice video communication, reach wider audiences, and build confidence with content creation. For beginners, Reels are a practical way to learn what viewers enjoy without needing a complex production setup.
1. They Help You Get Comfortable On Camera
Many beginners feel awkward filming themselves, but Reels make practice easier because they are short. You can start with voiceovers, hands-only shots, screen recordings, or text-based videos. Over time, recording becomes more natural and less stressful.
2. They Can Increase Reach
Instagram often shows Reels to people who do not already follow you. This means a helpful or entertaining Reel can introduce your account to new viewers. While reach is never guaranteed, Reels give beginners more discovery potential than many standard posts.
3. They Make Ideas Easier To Explain
Some ideas are clearer when people can see them in action. A recipe step, workout move, makeup technique, product feature, or workspace setup is easier to understand through video. Reels help beginners turn simple knowledge into visual content.
4. They Support Personal And Business Growth
Whether you want to grow a personal brand, promote a small business, or share a hobby, Reels can help people recognize your style and message. Consistent short videos build familiarity, which is important for trust and audience connection.
5. They Encourage Better Storytelling
Because Reels are short, they teach you to remove unnecessary details and get to the point. This improves your overall content skills. Beginners learn how to hook attention, organize ideas, and end with a clear takeaway.
6. They Are Easy To Test
You can post different Reel styles and see what performs best. Try tutorials, behind-the-scenes clips, quick tips, reactions, or before-and-after videos. The feedback from views, saves, comments, and shares helps you make smarter content decisions later.
Plan Your First Instagram Reel
Planning keeps your Reel from feeling random. Before recording, decide what you want to say, who it is for, and what action or feeling you want the viewer to have after watching.
1. Choose One Clear Topic
Start with a topic that can be explained in a few seconds. Instead of making a broad Reel about fitness, create one about a beginner stretch. Instead of covering all skincare, show one morning routine step. Specific ideas are easier to film.
2. Know Your Viewer
Think about who will watch your Reel and what they need. A beginner audience wants simple language, clear visuals, and practical steps. When you know your viewer, it becomes easier to choose examples, captions, and pacing that feel relevant.
3. Write A Simple Hook
The hook is the opening line, visual, or text that gives people a reason to keep watching. It might be a question, a result, a mistake, or a promise. Keep it direct, such as “Try this before filming your first Reel.”
4. Outline The Main Points
You do not need a full script, but you should know the beginning, middle, and end. Write three quick points before recording. This keeps your Reel focused and prevents rambling, which is one of the most common beginner problems.
5. Decide The Visual Style
Choose whether the Reel will show your face, your hands, a product, a screen, a location, or a mix of clips. Matching the visual style to the topic makes the content easier to follow and helps you record faster.
6. Pick A Simple Call To Action
A call to action tells viewers what to do next, such as save the Reel, comment with a question, try the tip, or follow for more. Beginners should keep this natural and useful instead of sounding pushy or overly promotional.
How To Make An Instagram Reel Step By Step
Once your idea is clear, the actual process is straightforward. These steps will help you create a beginner-friendly Reel from recording to publishing.
- Open The Instagram App: Tap the create button and choose Reel so you are working in the right video format.
- Select Or Record Clips: Film inside Instagram or upload clips from your phone gallery if you already recorded them.
- Trim The Footage: Remove pauses, mistakes, and extra seconds so the Reel starts quickly and keeps moving.
- Add Audio: Choose original sound, a voiceover, or suitable music that supports the mood without distracting from the message.
- Add Text: Use short on-screen text to highlight the main point, explain steps, or make the video easier to watch silently.
- Review The Timing: Check that text, clips, and audio appear at the right moments before you move to the caption screen.
- Write A Caption: Add a simple caption that supports the Reel, gives context, or invites a useful response from viewers.
- Choose A Cover: Pick a clear frame or cover image that helps people understand the topic from your profile grid.
- Publish Or Save Draft: Post when ready, or save the Reel as a draft if you want to review it again later.
Record Better Instagram Reels
Recording quality matters, but beginners should focus on simple improvements rather than perfection. Good lighting, stable framing, and clean sound can make a basic Reel feel much more professional.
1. Use Natural Light When Possible
Soft daylight near a window is often enough for a clean-looking Reel. Face the light instead of standing with a bright window behind you. Good lighting helps viewers see details clearly and makes your video look more intentional.
2. Keep The Camera Stable
Shaky footage can distract viewers, especially during tutorials or product shots. Use a tripod, phone stand, shelf, or steady surface. If you record handheld, keep your elbows close to your body and move slowly to avoid sudden jerks.
3. Clean Your Lens
A smudged phone lens can make your Reel look blurry even when the lighting is good. Before recording, wipe the lens with a soft cloth. This tiny habit can noticeably improve sharpness and make your video look cleaner.
4. Frame The Subject Clearly
Place the main subject where viewers can see it without guessing. Leave space for text, but avoid placing important details too close to the edges. Clear framing helps your Reel feel organized and easier to watch on a small screen.
5. Record More Than You Need
Film a few extra seconds before and after each clip so you have room to trim. Beginners often stop recording too quickly and lose useful footage. Extra material gives you flexibility when editing and helps transitions feel smoother.
6. Reduce Background Noise
If you are speaking, record in a quiet place and avoid loud fans, traffic, or music in the background. Clear audio makes your Reel easier to understand. If the sound is poor, consider adding a voiceover afterward.
Edit Your Instagram Reel For Clarity
Editing is not about adding every effect available. The goal is to make your Reel easier to watch, easier to understand, and more engaging from the first second to the last.
1. Cut Slow Openings
Begin with the strongest moment, result, question, or action. Long pauses at the start give viewers time to scroll away. Trim anything that does not help the viewer understand why they should keep watching immediately.
2. Use Text With Purpose
On-screen text should support the video, not cover it with clutter. Use text for hooks, key steps, labels, or important takeaways. Keep each line short enough to read quickly before the next clip or transition appears.
3. Match Audio To The Message
Music can improve mood, but it should not overpower your voice or distract from the point. For educational Reels, clear narration often matters more than trendy sound. For lifestyle content, music can help set pace and emotion.
4. Add Captions For Accessibility
Many people watch Instagram without sound, so captions can help them follow your message. Captions also support viewers in noisy places or those who prefer reading along. Accurate text can increase watch time and reduce confusion.
5. Keep Transitions Simple
Transitions can make a Reel feel polished, but too many effects may distract from the content. Beginners should start with clean cuts, quick zooms, or simple movement between clips. The best transition is one that supports the story.
6. Watch Before Publishing
Preview the full Reel at least once before posting. Check spelling, timing, audio levels, crop, and whether the main message is clear. A quick review helps catch mistakes that are easy to miss while editing individual clips.
Key Instagram Reel Factors For Beginners
Several factors influence whether a Reel feels useful and watchable. Beginners do not need to master everything at once, but these basics can improve quality and help viewers stay engaged.
- Hook: The first seconds should show value, curiosity, movement, or a clear reason to keep watching.
- Clarity: The viewer should quickly know what the Reel is about and what they will gain from it.
- Pacing: Remove dead space and keep the video moving without making it feel rushed or confusing.
- Lighting: Bright, clean visuals help your content look more trustworthy and easier to follow.
- Sound: Clear voice, balanced music, and readable captions make the Reel accessible to more viewers.
- Relevance: A Reel works best when it matches your audience’s questions, interests, problems, or goals.
Examples Of Beginner Instagram Reels
Examples make it easier to turn ideas into action. If you are unsure what to create, start with a format that matches your comfort level, topic, and available time.
1. Quick Tip Reel
Share one useful tip in a direct format, such as “One thing I wish I knew before filming Reels.” Show the action visually while adding short text. This format works well because it is simple, focused, and easy to repeat.
2. Behind The Scenes Reel
Show how something is made, packed, prepared, planned, or organized. Behind-the-scenes content helps viewers feel closer to your process. Beginners can film simple moments during normal work instead of creating a complicated video from scratch.
3. Before And After Reel
Before-and-after Reels are effective because they show transformation quickly. This could be a room setup, recipe, outfit, design, workout progress, or edited photo. Start with the result or contrast early so viewers immediately see why it matters.
4. Tutorial Reel
A tutorial Reel teaches a small process in a few clear steps. Keep each step short and visual. For beginners, tutorials work best when the topic is narrow, such as how to use one feature, tool, setting, or technique.
5. Myth Or Mistake Reel
Explain a common mistake your audience might be making and show the better approach. This format creates curiosity because people want to know if they are doing something wrong. Keep the tone helpful rather than judgmental.
6. Day In The Life Reel
A day-in-the-life Reel can work for creators, students, business owners, parents, professionals, or hobbyists. Choose a few meaningful clips instead of filming everything. Add text labels so viewers understand the flow without needing a long explanation.
Common Instagram Reel Mistakes To Avoid
Beginner mistakes are normal, but avoiding the biggest ones can save time and improve your results. Most problems come from unclear ideas, weak openings, poor readability, or trying to do too much at once.
1. Starting Too Slowly
If the first few seconds are empty, confusing, or slow, many viewers will leave. Begin with movement, a result, a bold statement, or a clear promise. A strong start gives people a reason to continue watching.
2. Adding Too Much Text
Text is helpful, but crowded screens are hard to read. Avoid long paragraphs on the video itself. Use short phrases, step labels, or key takeaways. Put extra detail in the caption if the viewer needs more context.
3. Ignoring Sound Quality
Bad audio can make even good footage difficult to enjoy. If your voice is hard to hear, viewers may scroll away. Record in a quiet space, lower background music, and use captions when spoken words are important.
4. Copying Trends Without Purpose
Trends can help, but copying a trend that does not fit your message may confuse your audience. Use trends only when they support your topic, brand, or personality. Relevance matters more than chasing every popular sound.
5. Making The Reel Too Complicated
Beginners often try to include too many clips, effects, ideas, and captions in one Reel. This can weaken the message. A simple Reel with one clear point usually performs better than a busy video with no obvious focus.
6. Forgetting The Viewer
A Reel should be made for the person watching, not just for the creator. Ask whether the viewer will learn, feel, laugh, relate, or take action. This mindset helps you create content that feels useful rather than random.
Best Practices For Making Instagram Reels
Once you know the basics, best practices help you create Reels more consistently. These habits improve planning, recording, editing, and audience connection without making the process too complicated.
1. Create A Repeatable Format
A repeatable format saves time and helps your audience recognize your content. You might post weekly tips, quick tutorials, product demos, or short lessons. Repeating a useful structure makes content creation easier while still allowing fresh topics.
2. Keep Captions Helpful
Your caption should add value, not simply repeat everything in the video. Use it to summarize the tip, explain the context, ask a question, or give a simple next step. Helpful captions can increase saves and comments.
3. Use Covers That Make Sense
A clear cover helps people understand the Reel when they visit your profile. Choose a frame or cover text that reflects the topic. Avoid covers that are blurry, cluttered, or unrelated to the actual video content.
4. Post Consistently Enough To Learn
You do not need to post every day, but regular practice helps you improve faster. A realistic schedule is better than an intense plan you cannot maintain. Consistency gives you more data and builds creative confidence.
5. Study Your Insights
Look at watch time, reach, shares, saves, comments, and follows from each Reel. These signals show what people found useful or engaging. Beginners should use insights as feedback, not as a reason to panic over one weak post.
6. Improve One Thing At A Time
Trying to improve lighting, editing, speaking, captions, hooks, and strategy all at once can feel overwhelming. Choose one skill for each batch of Reels. Small improvements add up and make the process more manageable.
Frequently Asked Questions
1. How Long Should An Instagram Reel Be For Beginners?
Beginners should usually start with short Reels between 7 and 20 seconds, especially for tips, simple tutorials, or quick examples. Longer Reels can work when the content truly needs more explanation, but shorter videos are easier to plan, record, edit, and review.
2. Do I Need To Show My Face In Instagram Reels?
No, you do not need to show your face to make effective Reels. You can record your hands, products, screen, workspace, process, or voiceover. Showing your face can build trust, but faceless Reels can still be useful, engaging, and professional.
3. Can I Make A Reel Without Music?
Yes, you can make a Reel without music. Original voice, natural sound, or a silent video with captions can work well when the message is clear. Music is useful for mood and pacing, but it is not required for every Reel.
4. What Should My First Instagram Reel Be About?
Your first Reel should be about one simple idea you can explain easily. Choose a quick tip, introduction, before-and-after result, behind-the-scenes moment, or common mistake. The goal is not perfection; it is learning the workflow and publishing something clear.
5. How Often Should Beginners Post Reels?
A beginner can start with two or three Reels per week if that schedule feels realistic. Quality and consistency matter more than posting constantly. Choose a pace that lets you plan, record, edit, and learn without burning out quickly.
6. Why Are My Instagram Reels Not Getting Views?
Low views can happen for many reasons, including weak hooks, unclear topics, poor timing, inconsistent posting, or content that does not match your audience. Review your first seconds, simplify the message, improve readability, and test different formats over several posts.
Conclusion
Making your first Instagram Reel becomes much easier when you break the process into clear steps. Start with one focused idea, record vertical clips with good light and sound, edit for clarity, add readable text, write a helpful caption, and review everything before publishing.
The most important thing for beginners is to practice with purpose. Your early Reels do not need to be perfect. Each one teaches you something about planning, filming, editing, and audience response, which helps your next Reel become stronger and more natural.